
Your dog is not being stubborn on the sidewalk. That three-foot strip of concrete changes everything about how a cue works, and most dogs need to relearn it there from the baseline.
I counsel owners to expect this gap. Dogs do not generalize well. A sit learned in the living room is, to the dog’s brain, a different behavior than a sit with traffic noise, a passing stroller, smells on a wall, and only eighteen inches between your leg and the curb. Learning is context-bound, which is why trainers talk about proofing through what behavior scientists call the three Ds: distance, duration, and distraction.
Picture a four-year-old, 52-pound mixed-breed who holds a beautiful 30-second sit-stay in the kitchen. On a narrow residential pavement, with bins out and a neighbor dog barking behind a fence, she pops up after three seconds, spins toward the road, and misses the release word entirely. Her owner worries the training failed. Three weeks in, what changed was not attitude but criteria: we cut duration back to three seconds, paid every correct sit within one second, and practiced only on a quiet stretch at 7 a.m. before adding busier times. The kitchen behavior was intact. The pavement behavior had not been built yet.
Why a narrow pavement is harder than it looks
A narrow pavement compresses decisions. Your dog cannot arc away from a trigger, sniff at a polite distance, or offer a wide heel loop. Leash pressure increases, your body blocks escape routes, and every distraction passes within nose range.
That compression raises arousal and narrows attention. From a structure/function view, posture cues like sit, down, heel, and loose-leash walking may help support steady movement and low-stress handling, but only when the dog can still think. On a tight sidewalk, thinking gets harder. Keep it preventive: realistic timelines beat rushed ones.
This is the surprising limitation: precision drops as space drops.
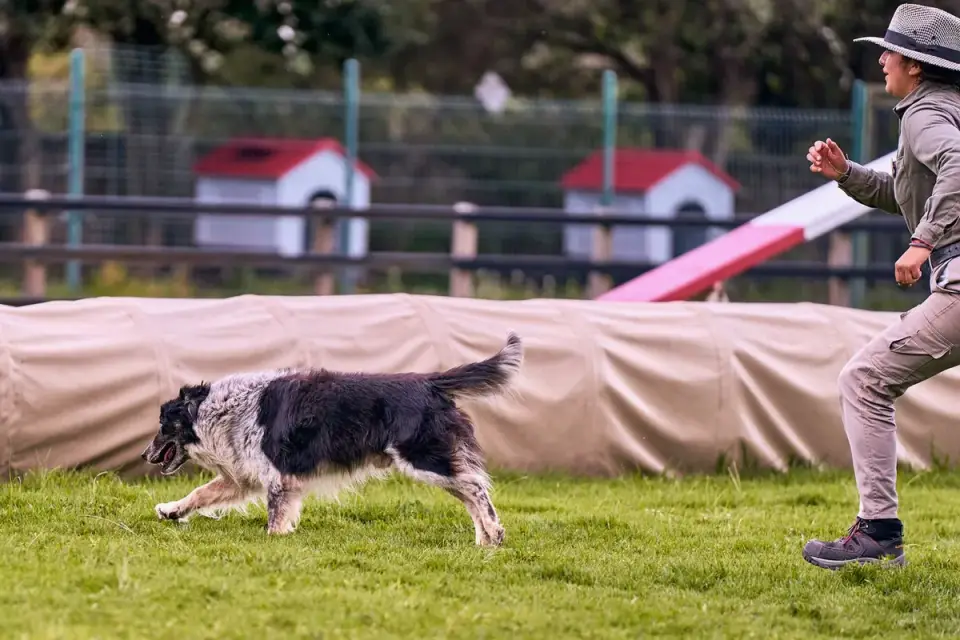
The American Veterinary Society of Animal Behavior emphasizes low-stress, reward-based methods for building reliable behavior, which matters even more in tight spaces where leash pops and crowding quickly create negative associations with the pavement itself.
Myth versus reality: proofing is not just adding distractions
The myth is that proofing means testing the cue in harder places until the dog gets it right. The reality is almost the opposite. Proofing means making the task easier in the new place, then layering difficulty one variable at a time.
Think distance, then duration, then distraction — never all three at once. On a narrow pavement, distance is already compromised because you cannot step back. Duration should shrink. Distractions should start mild.
I watched this tradeoff fail with a two-year-old, 18-pound terrier learning “leave it” past chicken bones and food wrappers. His owner tried full criteria at once: a six-foot leash, a normal walking pace, a verbal cue repeated twice, and a busy lunch-hour sidewalk on day one. By day 10, the dog was grabbing faster and the owner was pulling more, which rehearsed exactly the scramble they wanted to avoid. We reset to a wide driveway edge first, used a short three-foot hold with the dog tucked on the building side, marked and rewarded disengagement from five feet away, and only then returned to the narrow block. Speed of pickup slowed once pressure dropped.
Shorter leash does not mean tighter leash.
The American Kennel Club outlines a similar stepwise approach to proofing, adding one challenge at a time and returning to easier setups after mistakes rather than repeating a failed repetition at full difficulty.
For a clean “leave it” rebuild, review How to Teach “Leave It” (The Cue Most Owners Teach Backwards) and practice the foundation off the pavement first.
A practical sequence for one cue on one block
Pick one cue. Heel, sit at curbs, or “leave it” are the most useful on narrow pavements. Do not proof all three in the same walk.
1. Set the pavement baseline. Find a quiet 20- to 30-foot stretch with a wall or fence on one side. Put your dog on the inside, away from the road. Ask for one repetition at half your home criteria — a three-second sit instead of ten seconds, a five-step heel instead of a full block. Mark with a clear marker word. For marker mechanics, see Clicker vs Verbal Marker Word: Which One Should You Actually Use?.
2. Manage the space before you train in it. Use a four- to six-foot leash held short but loose, with two hands if needed at crossings. Step into driveways or cross to create distance when a dog or cart approaches. Reward offered attention during passes rather than demanding a perfect heel through them.
3. Add one D per session. Session one: short duration, no added distraction. Session two: same duration, one mild distraction at distance. Session three: slightly longer duration or slightly closer distraction, not both. If your dog misses twice in a row, cut criteria in half immediately. That is information, not defiance.
4. Proof the release, not just the position. On narrow pavements, dogs break because they do not know when the hard part ends. Use a consistent release word and pay the release position. A predictable end may help support calmer starts.
That last point gets missed in group settings. If your dog struggles with other dogs in tight quarters, compare formats in Group Classes vs. Private Training vs. Online Dog Training: How to Choose before you book a busy sidewalk class.
An edge case that changes the plan
Some dogs do better with movement than stillness on a narrow pavement. A seven-year-old, 68-pound senior Labrador with stiff hips could not hold a sit at every curb without shifting weight and breaking. His owner assumed disobedience. By week four, the pattern was clear: sits on cold concrete after ten minutes of walking produced lip licking and slow downs, while a brief hand-target stop-and-go kept leash loose and focus intact. We swapped curb sits for a three-second standing pause with eye contact, then kept walking. Function over form preserved both joints and cooperation.
Pain, age, and surface matter.
If you use a go-to-mat behavior at cafes or bus stops along your route, generalize it the same way with Teaching the “Place” or Go-to-Mat Cue.
My strongest counterargument is fair: some trainers say tight sidewalks demand stricter corrections to keep dogs safe near traffic. I land differently, within an evidence-bounded limit. Aversive pressure may stop movement for a moment, yet it does not teach the dog what to do next time and it risks pairing the pavement with fear. Clear criteria, high reinforcement rate early, and managed distance keep both safety and learning intact.
Brief recap: shrink the ask, pay quickly, change one variable at a time, and let timelines run two to three weeks per cue.
Frequently asked questions
How long should pavement proofing sessions be?
Keep sessions to 5 to 10 minutes on one quiet block. End after three to five clean repetitions rather than drilling until mistakes appear.
What reward rate works on a narrow pavement?
Start with continuous reinforcement — mark and pay every correct response within one to two seconds. Thin the schedule only after a week of steady success.
My dog only fails when another dog passes. What should I do?
Treat that as a distraction problem, not an obedience problem. Cross the street or step into a driveway, ask for a brief attention or hand target at distance, and close distance gradually over sessions.
Sources
- Position Statements — American Veterinary Society of Animal Behavior
- Expert Advice: Training — American Kennel Club