
On this page
This five-minute daily drill builds a calm car load one small step at a time. Most loading trouble is not defiance. It is rushing, slippery footing, and a dog that never learned exactly where to go and when to wait.
Expectation first: plan on two to four weeks of short reps before loading looks boring. That timeline may help support steady behavior without flooding or force. If your dog pants, drools, vomits, freezes, or panics in the car, pause training and talk with your veterinarian about motion sickness, pain, or fear.
I saw this decision point clearly with a composite case I use for counseling: a 3-year-old, 62-pound mixed-breed dog who planted her feet ten feet from the open hatch and barked at every passing cart in the driveway. Her owner needed her loaded for daycare twice a week and was weighing a running start and a lift by the harness against actually training the behavior. We chose training because lifting a struggling 62-pound dog risks a back injury and teaches her that the car predicts wrestling. By day 10 she was placing two front paws on the bumper on cue for a treat, still not jumping in, and that small win kept the owner consistent.
The surprising limit: practice does not fix a scary setup
You can drill every day and still get scrambling if the setup asks for too much. High bumper height, a hot slick cargo floor, blasting music, kids shouting, and a door that swings shut all push arousal up. Behavior follows the environment.
Set the baseline before you cue anything. Park in a quiet spot, engine off, doors secured. Add a rubber mat or folded yoga mat for traction. Open only the loading door you will use every time. Keep the leash loose and your body to the side, not looming behind the dog. Reward calm approach, not just the final jump.
Calm loading means four observable pieces: approach, paws up, wait for the cue, then settle on the mat. If one piece fails, train that piece.
Myth versus reality: what a calm loader actually does
Myth says a trained dog should leap in on “load up” the first week. Reality is quieter. A calm loader walks up on a loose leash, pauses at the bumper, loads when cued, turns, and lies down.
That sequence aligns with humane training guidance from the American Veterinary Society of Animal Behavior, which supports reward-based methods and low-stress handling over confrontation and flooding. Short, successful reps build the pattern. Long wrestling sessions build avoidance.
Use the same cue and the same routine every time. Say “paws up” for front feet on the bumper, then “load up” for all four feet inside, then “settle” for lying on the mat. Mark the exact moment with “yes” and pay with a small treat. Keep cues consistent with foundation skills you already use, like the pause you teach in How to Teach a Dog to Sit: The Method That Actually Sticks and the wait you build in How to Teach a Rock-Solid Stay.
Avoid the common tradeoff I see next.
The failed approach usually looks like this: a 5-year-old, 48-pound cattle dog mix who would load fine at home but spun, whined, and backed off at the trailhead parking lot. His owner, late for a hike three weeks in, tossed treats into the crate, pushed from behind, then lifted the rear end while a friend pulled the collar. He yelped, scrambled in, and panted the whole ride. The owner got compliance that day and lost trust for the next six trips. We restarted with engine-off reps at home, then one new parking spot per week, paying for approach and paws-up without demanding the full jump. The lesson was simple: forced loading buys one trip and charges interest on every future one.
The five-minute drill, step by step
Set a timer. End while your dog still wants more. Do Steps 1–2 for several days before adding height or motion.
1. Pay for approach (Days 1–4). Walk toward the open, parked car. Mark and treat any glance, step, or nose touch toward the bumper. Keep sessions to 8–12 treats. End on success.
2. Shape paws up. Hold a treat just over the bumper edge. Cue “paws up.” Mark front feet on the bumper or ramp. Treat on the mat inside so the dog looks inward. Release with “off” and repeat.
3. Add the load cue. When paws-up is easy, say “load up” once. Lure one step farther inward. Mark all four feet inside. Toss the second treat between the front paws to encourage a turn and a down.
4. Add the settle. Cue “settle.” Wait three seconds. Mark and reward a sit or down on the mat. Clip a crash-tested harness or secure the crate, then release with “okay” for a sniff break outside the car.
5. Add tiny duration and realism. Add five seconds of settle before release. Then close and reopen a door. Then start the engine for ten seconds while feeding. Train one new variable per day.
Keep handling low-stress. Reach under the chest, never yank the collar. For small, senior, or arthritic dogs, use a ramp and keep the slope shallow.
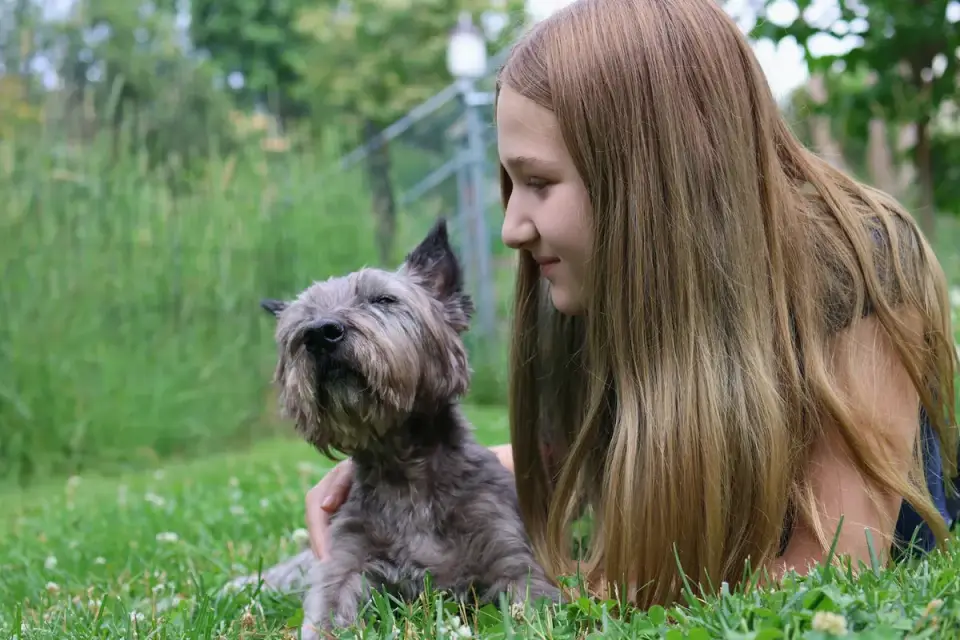
Short reps win.
If the dog stalls, make it easier, not louder. Move closer. Lower the lure. Pay the try.
When to pause and change the plan
Stop the drill if you see tucked tail, whale eye, yawning and lip-licking on repeat, refusal to take treats, trembling, drooling, or vomiting. Those signs point to fear, stress, or motion sickness rather than a training gap.
Check footing and pain first. Slipping, scrambling with rear legs, or yelping on the jump can reflect nail length, slippery mats, or hip, knee, or back soreness. Senior dogs and heavy adolescents often need a ramp and a vet check before more reps. General travel setup tips from the American Kennel Club remind owners to secure dogs and keep the cargo area cool and ventilated, which also lowers arousal during training.
Here is the edge case that changes the plan: a 9-month-old, 71-pound adolescent retriever who nailed home reps by week two, then refused at the vet clinic lot and drooled through his harness. At home he would load in under 20 seconds. At the clinic he would not take chicken. That contrast told us the problem was not manners. It was car sickness plus a learned clinic association. We paused loading drills, asked the veterinarian about motion sickness, shortened drives, added cool air and an empty-stomach morning trial, and rebuilt with two-minute happy reps that ended without driving anywhere. Expect the same split in your own dog: fast progress in one place and refusal in another usually means emotion or nausea, not a forgotten cue.
What would change if you measured success by how boring the load looks?
Frequently asked questions
How long should each car-loading session last?
Keep it to about five minutes, or 8 to 12 rewarded reps. Stop while your dog is still successful, then repeat daily in the same quiet parking spot.
What if my dog will not jump into the car at all?
Split the behavior. Reward approach first, then front paws on the bumper, then all four feet inside. Add a non-slip mat or ramp, and ask your veterinarian about pain if jumping, slipping, or yelping continues.
Should I lift my dog into the car?
Avoid lifting a struggling dog when possible. Lifting can injure you and increase avoidance. Use a ramp, lower the loading height, and train a step-by-step load with food rewards.
Sources
- Position Statements — American Veterinary Society of Animal Behavior