On this page
Checklist before you pick up the clippers:
- Choose a tool sized for a puppy nail — small guillotine or scissor clippers, not a full-size adult trimmer.
- Trim in good light, ideally with the paw supported from underneath.
- Trim only the curved tip — a few millimeters, not a straight cut across.
- Have styptic powder or cornstarch within reach before you start, not after.
- Do one or two nails per session for the first few weeks, not all eighteen at once.
- Stop the instant the puppy struggles hard — a paused session beats a fight every time.
That list looks simple written out. In practice, the thing that trips owners up almost never involves the clippers themselves.
I’ve had more conversations than I can count with new puppy owners who describe the same scene: an eight-week-old puppy squirming on the kitchen table, the owner gripping one paw while the puppy twists the other way, and a set of human nail clippers doing the actual cutting. It usually ends with one nail cut too short, a yelp, and a puppy who now flinches whenever a hand reaches for its foot. The mistake wasn’t clumsiness. It was starting with the clippers instead of starting with the paw. A ten-week-old Cavalier I worked with had exactly this history — two bad sessions in her first month home — and it took nearly three weeks of daily thirty-second handling exercises, no trimming at all, before her owner could touch a nail without her pulling back. That’s not unusual. It’s the norm for a puppy who had one scary experience early.
The quick is the whole problem, and it moves
The reason puppy nail trims go wrong so often traces back to one structure: the quick. It’s the vascular core running through the center of the nail — nerve tissue and blood vessels — and cutting into it is what causes the yelp, the blood, and the fear that follows. On a light-colored nail you can usually see it as a pink line inside the white nail; on a dark nail, you’re trimming in small slices and watching the cut surface change from chalky white to a slightly moist gray center, which signals you’re close, according to guidance from PetMD. The tricky part with puppies specifically is that the quick hasn’t receded the way it does in a dog whose nails are trimmed regularly — it sits closer to the tip, so the margin for error is smaller than it looks.
That’s a strong argument for trimming small amounts often rather than trying to get each nail “short enough” in one session. I land firmly on the side of frequent, tiny trims over occasional aggressive ones, and the counterargument is fair: more sessions means more handling, and more handling means more chances for a puppy to get frustrated. That’s true. But a puppy who’s mildly bored by nail trims is a much better outcome than one who’s afraid of them, and the data point that convinces me is simple — the sessions I see go worst are the ones where an owner tries to catch up on six weeks of overgrown nail in one sitting.
For a fuller answer on cadence, see How Often Should You Trim a Dog’s Nails? — but for a puppy specifically, more frequent and shorter sessions beat a monthly marathon.
Myth versus reality: it’s not about a “calm” puppy
The common assumption is that you need a naturally calm, easygoing puppy for nail trims to go smoothly, and that a wiggly, high-energy puppy is just going to be difficult. That’s backwards. Wiggling during a nail trim is usually not a temperament problem — it’s an under-conditioned one. A puppy who’s never had its paw held for any reason other than “something uncomfortable is about to happen” will squirm regardless of how mellow it is otherwise. The fix isn’t waiting for the puppy to calm down with age. It’s teaching the paw-hold itself to mean nothing scary, separately from the actual trimming.
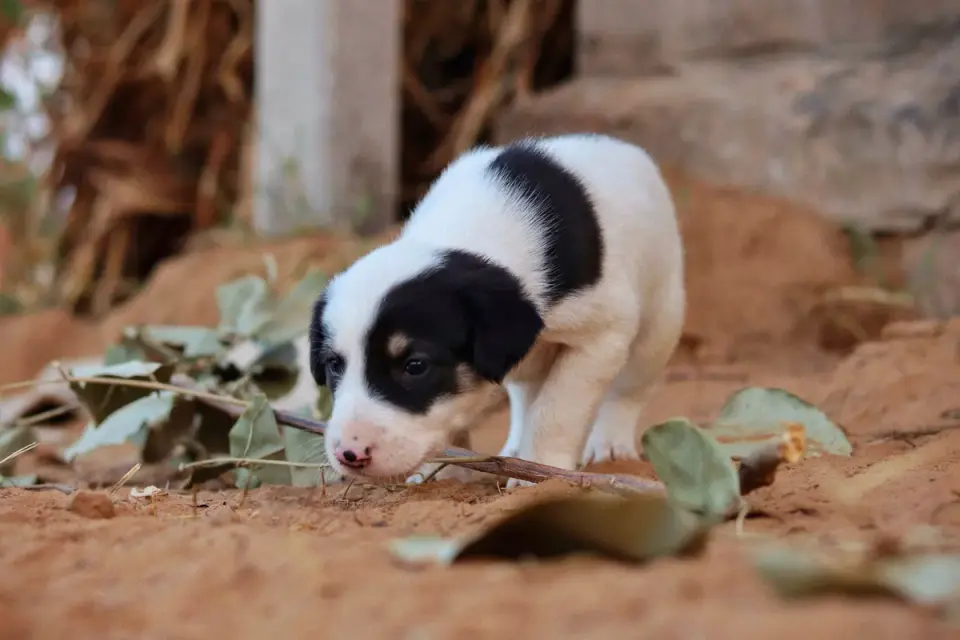
This is where a counterconditioning approach earns its keep. The protocol described by Whole Dog Journal lays out the mechanics well: touch the paw briefly, feed a treat, release — building the association before the tool ever comes near the nail. Then introduce the clipper as an object to sniff, not a thing that does anything. Only once the puppy is relaxed through that sequence do you trim a single nail and stop. It’s slower than most owners expect. It’s also the difference between a puppy who tolerates nail trims for the next fourteen years and one who needs to be muzzled for them.
A sequence that works in real households
Here’s the order I actually recommend, spread across roughly two to three weeks before the first real trim, and continuing afterward:
- Days 1–5: Handle each paw for five to ten seconds daily, treat immediately after release. No clippers present.
- Days 6–8: Introduce the clipper nearby — on the floor, in your hand — while treating for calm attention to the paw. Still no cutting.
- Days 9–10: Touch the clipper to one nail without cutting, treat, release.
- First trims: Cut one or two nails, stop, treat generously, end the session. Repeat every few days rather than trying to finish all nails at once.
- Ongoing: Once the puppy tolerates the full paw and tool routine, move to a full-nail session every one to two weeks, trimming small amounts each time.
If a nail does bleed, VCA Animal Hospitals recommends applying styptic powder or cornstarch directly to the tip with firm pressure for about thirty seconds — and treating the puppy calmly afterward so the incident doesn’t become the thing they remember about nail trims generally. One bleed doesn’t undo weeks of conditioning, but three in a row probably will, so it’s worth pausing the DIY approach and asking a vet or groomer to handle the next session or two if bleeding keeps happening.
If your household is also weighing whether trims belong at home at all, At-Home Grooming vs a Professional Groomer: How to Actually Decide covers that tradeoff directly. And if clippers themselves feel like the wrong tool for a puppy who won’t hold still, a grinder is worth a look — Best Dog Nail Grinder: What Actually Matters Before You Buy One walks through when that trade makes sense.
Where I land
I keep coming back to the same recommendation with new puppy owners: build the handling habit before you ever open the clippers, trim small and often, and treat every session — good or bad — as information about what the next one needs to look like. The honest caveat is that some puppies, especially ones with an early bad experience already on the books, need more than home conditioning can offer. If you’ve tried the sequence above for a few weeks and your puppy still panics at paw handling, that’s a fair moment to bring in a trainer or your veterinary team rather than pushing through it alone. I’ve seen owners force through a few more sessions out of frustration, and it almost always sets the relationship back further than pausing would have.
I still remember a Lab-mix puppy, about twelve weeks old and already sixteen pounds, whose owner had tried three home trims that all ended in tears — hers and the puppy’s. We spent a single visit just handling paws with no tool in sight, and I sent her home with the same five-day plan above. Three weeks later she texted a video of a full trim, all four paws, no restraint beyond a gentle hold. Nothing about that puppy’s temperament had changed. What changed was that the paw stopped predicting something scary.
Frequently asked questions
At what age should I start trimming a puppy's nails?
You can begin gentle paw handling as early as eight weeks, even before you attempt an actual cut. Most puppies are ready for real trims once they tolerate paw handling calmly, often by ten to twelve weeks.
How short should a puppy's nails be?
Trim only the curved tip that extends past the paw pad — a few millimeters at a time. The goal is a nail that no longer touches the floor when the puppy stands, not the shortest possible cut in one session.
What if my puppy won't stop wiggling no matter what I try?
Stop the session rather than forcing it. Go back to paw-handling exercises without clippers for a few more days before trying again, and consider asking a vet or groomer to help with the next trim.
Sources
- How To Trim Dog Nails — PetMD
- How to Trim a Dog's Nails — VCA Animal Hospitals
- A Counter-Conditioning Protocol for Nail Trimming — Whole Dog Journal