
On this page
The first time I showed a client how to flush her cocker spaniel’s ears, she stopped halfway through and said, “I’ve been doing this wrong for six years.” She wasn’t alone. Most owners either avoid ear cleaning entirely, out of fear they’ll hurt their dog, or they overdo it with cotton swabs and a heavy hand. Both habits cause trouble. The truth is narrower and more forgiving than either extreme: a healthy dog’s ears need a simple flush-and-wipe on a predictable schedule, not a deep-cleaning project.
Why “just wipe it out” isn’t the whole story
A dog’s ear canal isn’t a straight shot like ours — it runs down, then takes an L-shaped turn (the horizontal canal) before it reaches the eardrum. That geometry is why cotton swabs are a bad idea: they tend to pack debris deeper into the L rather than pulling it out. VCA Animal Hospitals walks through the mechanics of this, and it’s worth understanding before you touch a bottle of cleaner, because the shape of the canal is the whole reason the “fill and massage” method works better than dabbing.
Here’s the myth I hear most often: that a squeaky-clean, dry ear is the healthy goal. It isn’t. A little wax is normal — it’s part of how the ear protects itself. The goal of routine cleaning is to keep debris from building up to the point where yeast or bacteria get a foothold, not to scrub the canal bare every few days.
What you actually need before you start
- A veterinary ear cleaner labeled for dogs (not water, not vinegar, not homemade mixes)
- Cotton balls or gauze squares — skip cotton swabs
- A towel, because there will be shaking
- Treats, for cooperation and for making this feel routine rather than a wrestling match
Skip anything with alcohol or that stings on broken skin. If your dog’s ears are already red, swollen, or clearly painful, this is a “call the vet first” situation, not a “power through it” one — cleaning an inflamed ear can make the dog head-shy about the whole process for months.
The sequence, start to finish
Fill the ear canal generously with cleaner, using the ear flap as a funnel so the bottle tip never touches the ear itself. Fold the flap down and massage the base of the ear for 20 to 30 seconds — you’ll hear a wet, squelching sound, which means the solution is reaching the debris and breaking it loose. Let go and step back, because most dogs shake immediately, and that shake does a lot of the work for you by flinging loosened wax up and out.
Once the shaking’s done, wipe the visible canal and the folds of the outer ear with a cotton ball, going only as far as your finger comfortably reaches — roughly one knuckle deep. Cornell University College of Veterinary Medicine: Cornell’s Riney Canine Health Center recommends this exact fill-massage-wipe order, and it’s the same one I default to with nearly every dog I see for a wellness exam. Repeat on the second ear with a fresh cotton ball — reusing one between ears just moves debris (and possibly infection) from one side to the other.
A dog I still think about
There was a golden retriever I saw a few years back, about seven years old, sixty-some pounds, who’d started tilting his head to the left every evening after his walk. His owner had noticed it over maybe ten days — subtle enough that she’d almost talked herself out of the appointment. His ear wasn’t red or foul-smelling, just a little waxier than normal on that side, and he flinched slightly when I touched the base of the ear rather than the flap. That flinch is the detail that changes the plan. A dog who tolerates a normal cleaning but reacts to pressure at the ear canal opening usually has something going on deeper than surface wax, and in his case, it turned out to be early inflammation that responded well once we got ahead of it. What stuck with me wasn’t the diagnosis — it was how close his owner came to writing it off as “just his ears being ears.”
Reading the signs that mean stop and call
Routine debris is light brown or yellowish, doesn’t smell strong, and doesn’t seem to bother the dog when you touch the outer ear. A problem ear looks or smells different, and VIN’s Veterinary Partner is a useful reference on what that shift can mean — dark, coffee-ground debris can point to ear mites; a yeasty smell with waxy brown buildup often means a yeast overgrowth; and a painful, red, swollen canal with head-shaking or pawing needs an exam before you clean anything at all, since flushing an infected or inflamed ear can push the problem further in and make the dog’s next cleaning a fight. Cleaning helps decrease everyday debris and supports a healthy ear environment, but it isn’t a treatment for an active infection, and it won’t fix an ear that’s already inflamed.
If your dog is new to you — a recent adoption still settling into a routine, for instance — ear care is a good habit to build alongside the basics covered in New to Dog Care? Start Here With the Everyday Basics. It pairs naturally with the kind of predictable daily structure described in A Puppy Potty-Training Schedule That Works, where routine itself does a lot of the behavioral heavy lifting.
How often is actually necessary
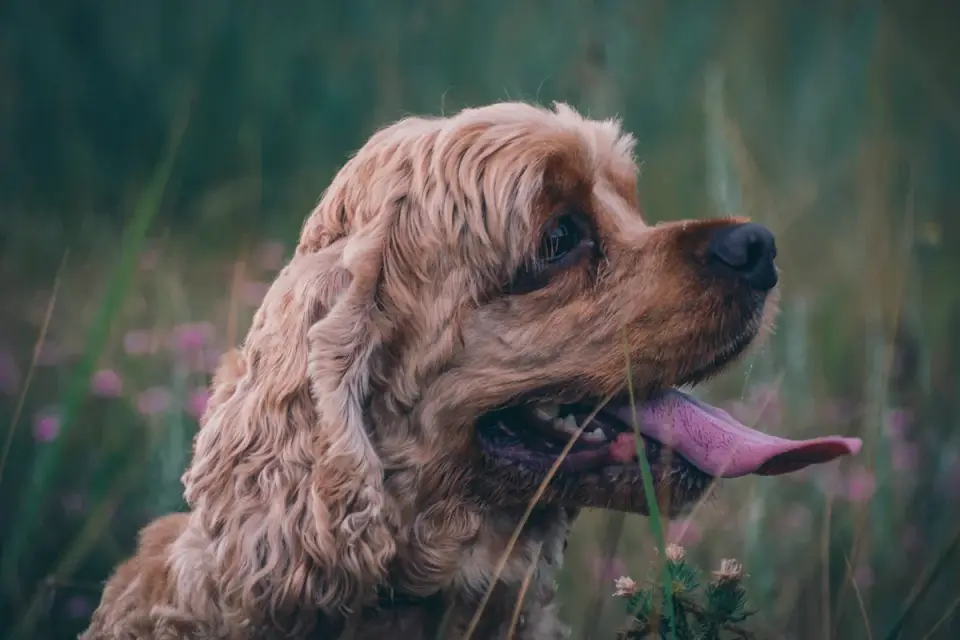
This is where I part ways with anyone who tells owners to clean weekly by default. For a dog with upright ears, decent airflow, and no history of infections, once a month is plenty, and some low-risk dogs can go longer. Dogs with heavy, floppy ears — cocker spaniels, basset hounds, many retrievers — trap moisture more easily and often do better on a two-to-four-week schedule. Dogs who swim a lot need a rinse after each swim, not because chlorinated or lake water is dangerous on its own, but because trapped moisture is exactly the setup yeast prefers. If you’re weighing whether your water-loving dog’s ear risk outweighs the fun of the lake, it doesn’t — you just clean and dry the ears afterward, and the risk mostly goes away. For dogs who genuinely love the water, it’s worth reading how body shape affects swimming ability in Are All Dogs Natural Swimmers? What Body Shape and Breed Really Determine, since ear conformation and swim risk tend to track the same breed traits.
Recurrent cases are their own category. The American Veterinary Medical Association’s JAVMA coverage of recurrent otitis externa management describes maintenance cleaning frequency easing off over time — often starting more frequent during a flare-up and dropping to once or twice weekly for long-term prevention once things settle. That’s not a schedule to improvise on your own; it’s one to build with your vet based on what’s actually driving the recurrence, whether that’s allergies, ear shape, or something else.
Where I land, and why
My honest position is that most owners under-clean rather than over-clean, and that a monthly check-and-clean habit prevents more problems than any special solution or gadget does. The strongest counterargument I hear is that cleaning too often strips protective wax and irritates healthy skin — and that’s a fair point when it’s true. I’ve seen owners clean twice a week “just to be safe” and end up with drier, more reactive ears than when they started. But that risk comes from over-frequency and rough technique, not from cleaning itself, and it’s easily avoided by matching the schedule to the dog’s actual risk factors rather than a fixed calendar reminder. A once-a-month habit, done gently and correctly, remains the safer default for the vast majority of dogs I see.
So check the ears the next time you’re already handling your dog for something else — a nail trim, a brushing session, settling in for the evening. Does the smell seem normal? Does the color look like it did last month? That thirty-second habit is worth more than any product on the shelf, and it’s the same one I’d want for my own dog. What would you notice first if something changed?
Frequently asked questions
How often should I clean my dog's ears?
For most dogs with upright ears and no history of infections, once a month is enough. Floppy-eared or water-loving dogs often do better every two to four weeks, or after swimming.
Is it safe to use cotton swabs on my dog's ears?
No. A dog's ear canal has an L-shaped bend, and swabs tend to push debris deeper rather than removing it. Stick to cotton balls or gauze for the visible canal only.
What if my dog's ears smell bad or look red?
That's a sign to see a vet before cleaning. A strong odor, redness, swelling, or pain can point to an infection that needs diagnosis and treatment, not just a home flush.
Sources
- How to Clean Your Dog's Ears | Riney Canine Health Center — Cornell University College of Veterinary Medicine
- Ear Cleaning and Administering Ear Medication in Dogs — VCA Animal Hospitals
- Otitis Externa Treatment in Dogs and Cats — Veterinary Partner (VIN)
- Managing recurrent otitis externa in dogs: what have we learned and what can we do better? — Journal of the American Veterinary Medical Association (JAVMA)