On this page
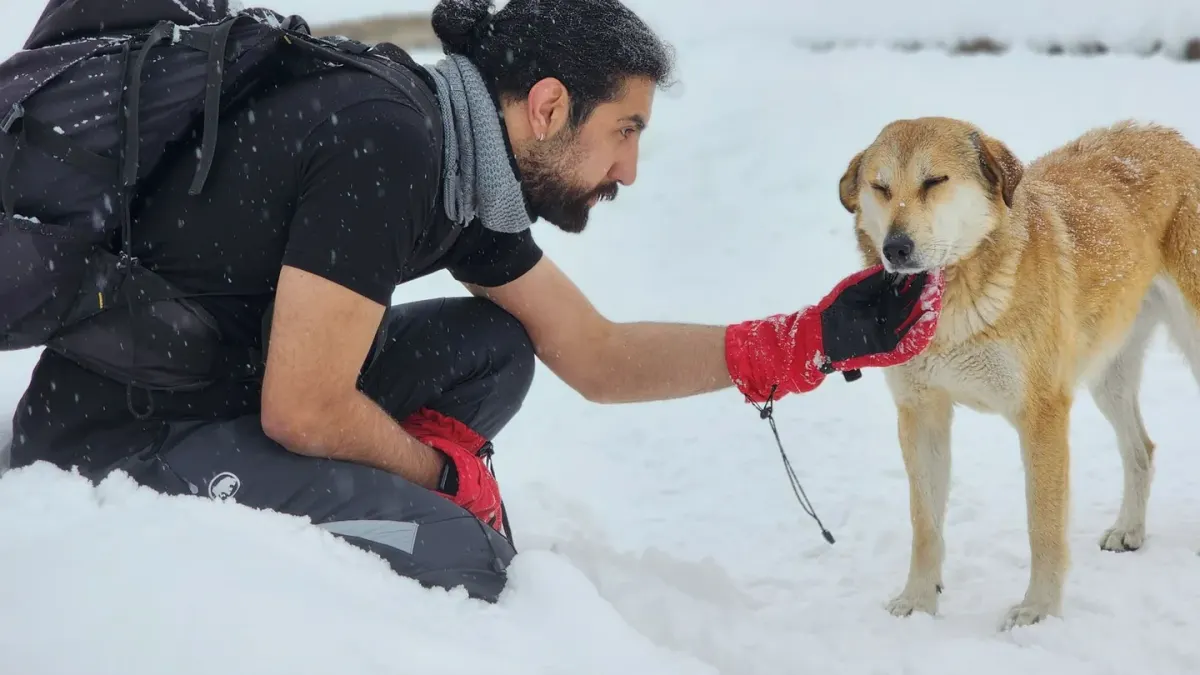
Your dog is not being stubborn at the exam table. That freeze, duck, or paw-pull is normal communication under pressure.
Expectation first: handling comfort is trained in layers at home, not decided in the exam room. A dog that sits politely in the kitchen may still brace when a stranger lifts a lip, holds a paw, or presses a belly. Your job is to make each touch predictable and paired with something good.
My vets-often-see version of this: Victor in Norfolk wondered why Juliet, his 7-year-old spayed Border Collie mix, was sweet at home but tucked her paws and shifted away for nail trims and ear checks. They practiced two-minute handling sessions for ten days, and the change he noticed first was simple — she stopped leaving the mat when he reached for a paw.
The limit a calm home routine cannot fix
Home cuddles do not prepare a dog for clinic handling. Petting is your touch, on your couch, on your dog’s terms.
Clinic handling is different. It is brief restraint, unfamiliar hands, odd positions, and touches in sensitive spots — ears, mouth, paws, belly, tail — often in a row. If that is the first time your dog feels it, bracing is reasonable.
Short practice sessions may help support a calmer baseline for behavior during exams. That is the whole bet here.
Myth versus reality: what calm handling takes
Myth: A friendly dog should just tolerate it.
Friendliness and handling tolerance are separate skills. Many social dogs still flinch at ear lifts or hold their breath for a belly press. Tolerance has to be taught touch by touch.
Reality: Comfort looks boring.
Look for loose muscles, soft eyes, normal breathing, and a dog that stays in place and takes treats. Progress is not a dog that “takes it.” It is a dog that chooses to stay, checks in, and recovers fast after each touch.
One short sentence to keep: Consent beats duration every time.
Guidance from the American Veterinary Society of Animal Behavior supports teaching with reward-based methods rather than force, which fits handling work well.
The handling sequence you can start tonight
Keep sessions to two to three minutes. Work on a non-slip mat. Use tiny, soft treats your dog can eat fast. End while your dog still wants more.
If you have already worked on How to Teach a Dog to Sit: The Method That Actually Sticks or How to Teach a Rock-Solid Stay, use that station behavior as your start button. The mat means treats happen and pauses are allowed.
Step 1: Charge the start and stop signals
Place the mat down. Mark and treat for stepping on. Then teach a simple pause cue: present your open palm a few inches away, and when your dog looks away, pulls back, or steps off, you stop touching. Pause, then invite back with a treat toss to the mat.
This stop signal is what builds trust. Your dog learns that stillness is not trapped.
Step 2: Pair one touch with one treat
Work one body area per session. Keep the order easy to hard: shoulder and side, then paws, then ears, then mouth and belly.
Touch for one second, treat. Repeat five to eight times. Lift an ear flap, treat. Touch a paw toe, treat. Lift a lip for one second, treat. Keep your other hand quiet rather than holding tight.
Technique from VCA Hospitals calls this pairing desensitization with counterconditioning: low-level exposure plus a good outcome, building slowly.
Step 3: Add mild pressure and motion
Once the light touch is easy, add what the clinic actually does. Hold the paw for three seconds. Rub the ear base gently. Run a hand down the belly. Lean lightly over the shoulder the way a vet might to listen to the heart.
Keep the pattern: cue the touch with a word like “ears” or “paws,” do the brief handling, then treat. If your dog tenses, go back one level rather than pushing through.
Step 4: Add a second person and novel tools
Ask a family member to play vet. They approach from the side, offer a treat, then do one familiar touch while you feed. Later add props for five seconds at a time: a stethoscope pressed to the side, an otoscope shape near but not in the ear, a nail clipper touching a toe.
Keep your dog on the mat. Let the helper be boring and quick.
When your dog says pause
Back up if you see lip licking, yawning when not tired, whale eye, tucked paws, freezing, growling, or leaving. Those signs mean the step was too big, not that training failed.
Try this reset: end the touch, toss two treats away from the mat, let your dog shake off, then restart with an easier touch you know they can do. Two easy wins may help support confidence before you try again.
A skeptical friend will ask: are you just bribing the dog to put up with it? Fair question. The answer is timing. The treat comes after the brief touch and predicts the next one, so the touch itself starts to feel safer. If treats stop working, that is information. Your dog is over threshold, tired, or sore. Stop and try a shorter session later.
Call your clinic if handling suddenly gets harder, especially around ears, mouth, or belly. Pain changes behavior fast, and no training plan should cover up a new sensitivity.
A same-day plan that sticks
Pick one spot — paws are a good start. Do three two-minute rounds today with breaks between. Log what your dog accepted without tension.
Bring that note and a treat pouch to the next visit. Ask the team if you can reward between steps. Most teams welcome it, and it keeps the behavior you built at home intact in the exam room.
Frequently asked questions
How often should I practice handling for vet visits?
Aim for two to three minutes, once or twice daily, one body area at a time. Short, successful rounds build comfort faster than one long session.
What if my dog growls during handling practice?
Stop the touch calmly and give space. Growling is communication, not defiance. Drop back to an easier step and contact your vet or a reward-based trainer if it repeats.
Should I practice restraint at home?
Practice brief, cooperative holds only, like a light hug around the shoulders for two seconds paired with treats. Skip prolonged pinning or forced holds, which can increase fear.
Sources
- Desensitization and Counterconditioning — VCA Hospitals
- Humane Dog Training Position Statement — American Veterinary Society of Animal Behavior